Check Manual-05 - TECVAL,S.L., 2023 all rights reserved.


Check Valves
Installation, Operation & Maintenance of Check Valves
1.- USE
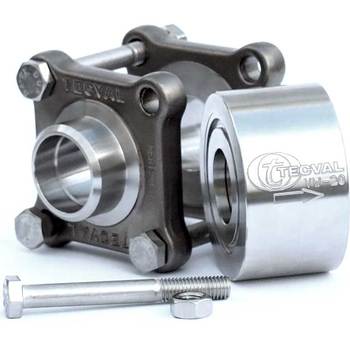
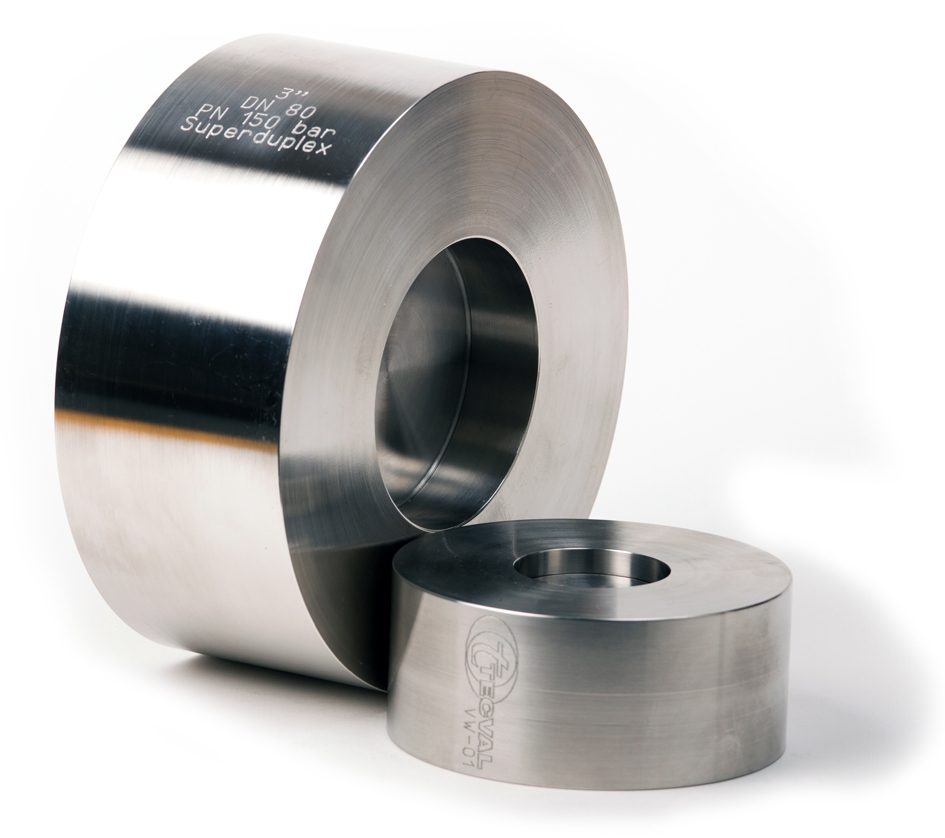
Check Valves are designed for low-pressure drop and positive prevention of backflow. It is suitable for use with either gas or liquid systems. The valve opens when pressure in the direction of flow (indicated by an arrow on the body of the valve) is strong enough to unseat the movable body against the valve seat. We manufacture three types of check valves: poppet, three-pieces, and wafer. Each one has different handlings.
2.- INSTALLATION
2.1.- THREADED CHECK VALVE INSTALLATION
- Valves must be installed in the direction of flow as indicated by the arrow on the body.
- Pipe connections should be free of dirst and metal shavings.
- Several wraps of PTFE tape are recommended as pipe joint sealant.
- To provide a leak proof joint, the pipe should be threaded into the end connection "hand-tight", using a wrench to tighten the joint an additional 1/2 to 1-1/2 turn past hand tight. Tightening beyond this point may induce excess stress that could cause failure.
2.3.- WELDING CHECK VALVE INSTALLATION
- Valves must be installed in the direction of flow as indicated by the arrow on the body.
- Proper preparation of tubing prior to installation is critical to get a joint. The tubing must be cut-square, de-burred, and cleaned with a solvent.
- Ensure connecting pipes are correctly positioned and supported to avoid any strain on the valves.
- Do not exceed the 70 ampere of current intensity for welding.
- Apply heat directing the flame away from the body or center of the valve. It is essential to minise heat transfer to the body (<200ºC) to prevetn damage to the valve seats and seals (VR-01 only)
2.3.- WAFER CHECK VALVE INSTALLATION
- Valves must be installed in the direction of flow as indicated by the arrow on the body.
- These kind of valves are designed to work between flanges regardless of the position. The outer diamater of the valve centers itself by the flange bolts.
- The flange facings have to be in parallel position to each other. The facings need to be clean and undamaged.
- Use joints between valve and flanges appropriate to the service and center it conveniently.
- Do not force the union of the system between flanges with the screws when space exists among them.

3.- OPERATION
- Due to the nature of our check valves, their operation is automatic. They do not require any manipulation.
- The opening of these valves is affected by the position that was left after assembly (ascending, horizonatal, descending).
4.- MAINTENANCE
- All of our check valves are maintenance-free.
- Due to safety reasons and also to avoif unnecesary periods of interruption, it it recommended to check the proper functioning and reliability of the valves within reasonable and regular intervals (to be defined by the operator).
- Wait until the system is depressurized and cold to replace the valves.
- When using dangerous fluids , drain the system completely before replacement.
CAUTION: Do not disassemble the valve in any case, especially while under pressure.
